No products in the basket.
Silicone moulds are made of flexible and durable silicone with plastic properties that enable their multiple use.
Before filling the mould with liquid wax, it is recommended to spray it with silicone spray. Silicone is also a preservative for the mould and a factor that facilitates the removal of ready-made candles.
Recipe how to make a beeswax candle in a few simple steps:
You will need:
» A silicone mould,
» A wick of appropriate thickness, matched to the size of the candle (the larger the candle, the thicker the wick)
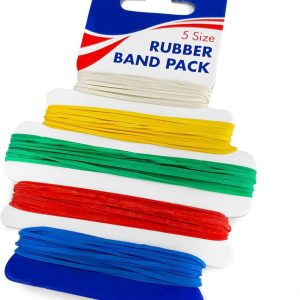
» Rubber band
» Toothpick
» Silicone spray (optional). The mould can be sprayed inside with silicone spray.
1. Preparation of the mould
If you are casting candles with an intricate pattern, it’s helpful to spray it on the inside with silicone spray. It will be easier to remove the finished candle from the mould. Then, cut off the appropriate length of the wick (must be longer than the mould) and pull it through the centre of the mould, trapping the end in the split at the bottom of the mould. The next step is to put rubber bands on the mould, but make sure the mould is still even. At the end of the exposed wick place a toothpick in the tip of the wick and tension it well.
2. Pouring wax onto the mould
Dissolve the wax in a pot (preferably enameled). Before pouring, the wax should have a temperature of about 60°C. It should not be too cold or too hot. Pour the wax with a steady stream so that no air bubbles form. The setting time of the wax depends on the size of the silicone mould.
3. Removing the candle from the mould
When the wax has solidified and is cold, remove the rubber bands, open the mould and gently take out the candle. Then remove the toothpick and cut the wick at the base, and leave about 1 cm at the top of the candle.
The final stage of finishing the candle is “treating” the bottom of the candle with a knife and dipping the tip of the wick in warm wax.
Candle making tips
Showing the single result

